

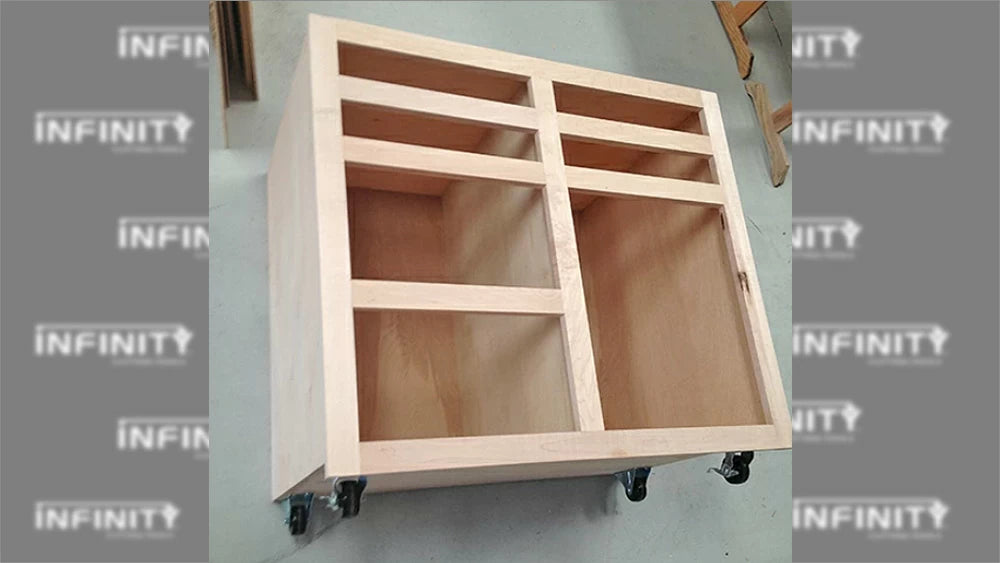
What do you do when there is stuff everywhere and no storage in your woodshop? Get shop cabinets! Sure you can always buy some, but where is the fun in that. I am a firm believer that shop cabinets should be made from the materials you have laying around the shop or from fairly inexpensive material (they are gonna be getting abused over the years).
For the Infinity Cutting Tools shop, I grabbed some sanded plywood from a big box store that was pretty inexpensive. I also had a bit of leftover hard maple from one of my last jobs. A shop cabinet can be as simple or complex as you want or need to make it.
We're going to be making a few different shop cabinets over the next few weeks. The first two I want to make are a base cabinet with a good number of drawers and a nice-sized wall cabinet. Speed will be key on these, because I really want to get some things put away.
My original drawing for the base unit gives me a good idea of a starting point and the basis for my cutting list.

Now on to the fun stuff. I personally like to cut my large sheet goods to a more manageable size before I take them over to the table saw. So after a couple of quick cuts with my track saw, I have a nice workable size to cut into pieces.

I used the Infinity 10" Super General 40T to cut parts to final size. I normally would have switched to a zero clearance insert plate on the table saw, but I wanted to see what the Super General would do. It left a very nice finish on the upside cut with minimal tear-out on the downward side. This is a pic of the bad side. I can live with that.

Next, I like to cut a rabbet in the back edge of the cabinet sides. If I'm just using a 1/4" back panel, I don't bother to switch to the dado blade. I just make a few passes with the Super General. The nice part about not switching to the dado in this scenario is that for the bottom and top carcass pieces, I can just raise the blade up and rip to the exact measurement of the last rabbet cut. This ensures a perfect fit for the back.

For these two cabinets, I'm going to use the Kreg Tool Pocket Hole Jig to do most of the assembly. This is a great quick joinery method that creates a strong mechanical joint.

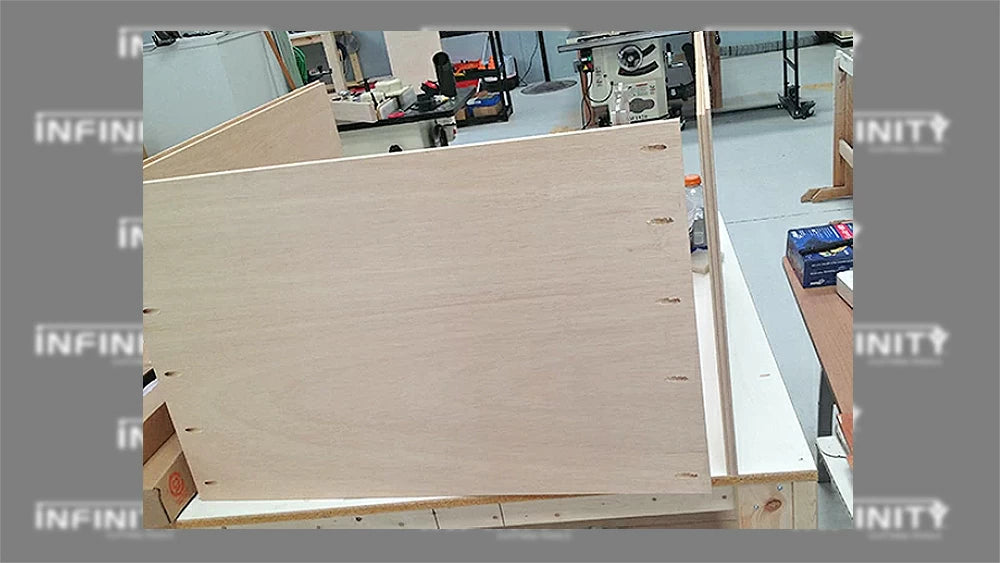

The cutting and assembly for the two cabinets only took me about two hours.
I added a vertical divider panel in the base cabinet to make attaching the drawer slides easier later on. I just used a butt joint on this panel since the screws will never be seen.


I added casters to the bottom of the cabinet. The wheels allow me to move the cabinet around the shop, if needed.

To make the face frames, I used hard maple. The milling went quick and easy with the jointer and planer.
I used the Kreg Jig to drill pocket holes then used pocket hole screws to assemble the face frames lickety-split.


I attached the face frame to the cabinet with glue and clamps.

I used similar construction techniques to build a simple wall cabinet.

Tomorrow, we are going to knock out some doors and drawers and put some of the Infinity Cutting Tools router bits to the test.
